
WristCheck 101: Getting started with WristCheck Link to heading
WristCheck has been out in the wild for a little over a month now, and as I’ve mentioned before I’ve got plans to continually add more functionality to the app and keep it supported for a good while (free time permitting of course!)
Now I’d not claim to be the worlds best developer, nor am I a professional UX designer - I’ve just built an app to the best of my abilities that performs some functions that I want access to (and on the way added some things based on user feedback) - so the app has a few bugs and might not be as straight-forward to navigate as I think it is…
So for a while I’ve thought: “I should really write up some user guides and FAQs for WristCheck!”… Well, here we go - I thought I’d kick off with a quick introduction to the app to get up and running quickly.
-
Note: At the time of writing version 1.2 of the app is available - I’ll try to update this if anything changes in future releases. You can check your app version in the settings menu!
-
This guide is incomplete, but I’ll return and update this page with further guides over time
Contents Link to heading
Adding watches to your collection Link to heading
It’s probably obvious, but the first thing to do is to add some watches to your collection so that you can start tracking them, and this is as simple as pressing the big red do not press floating action button:
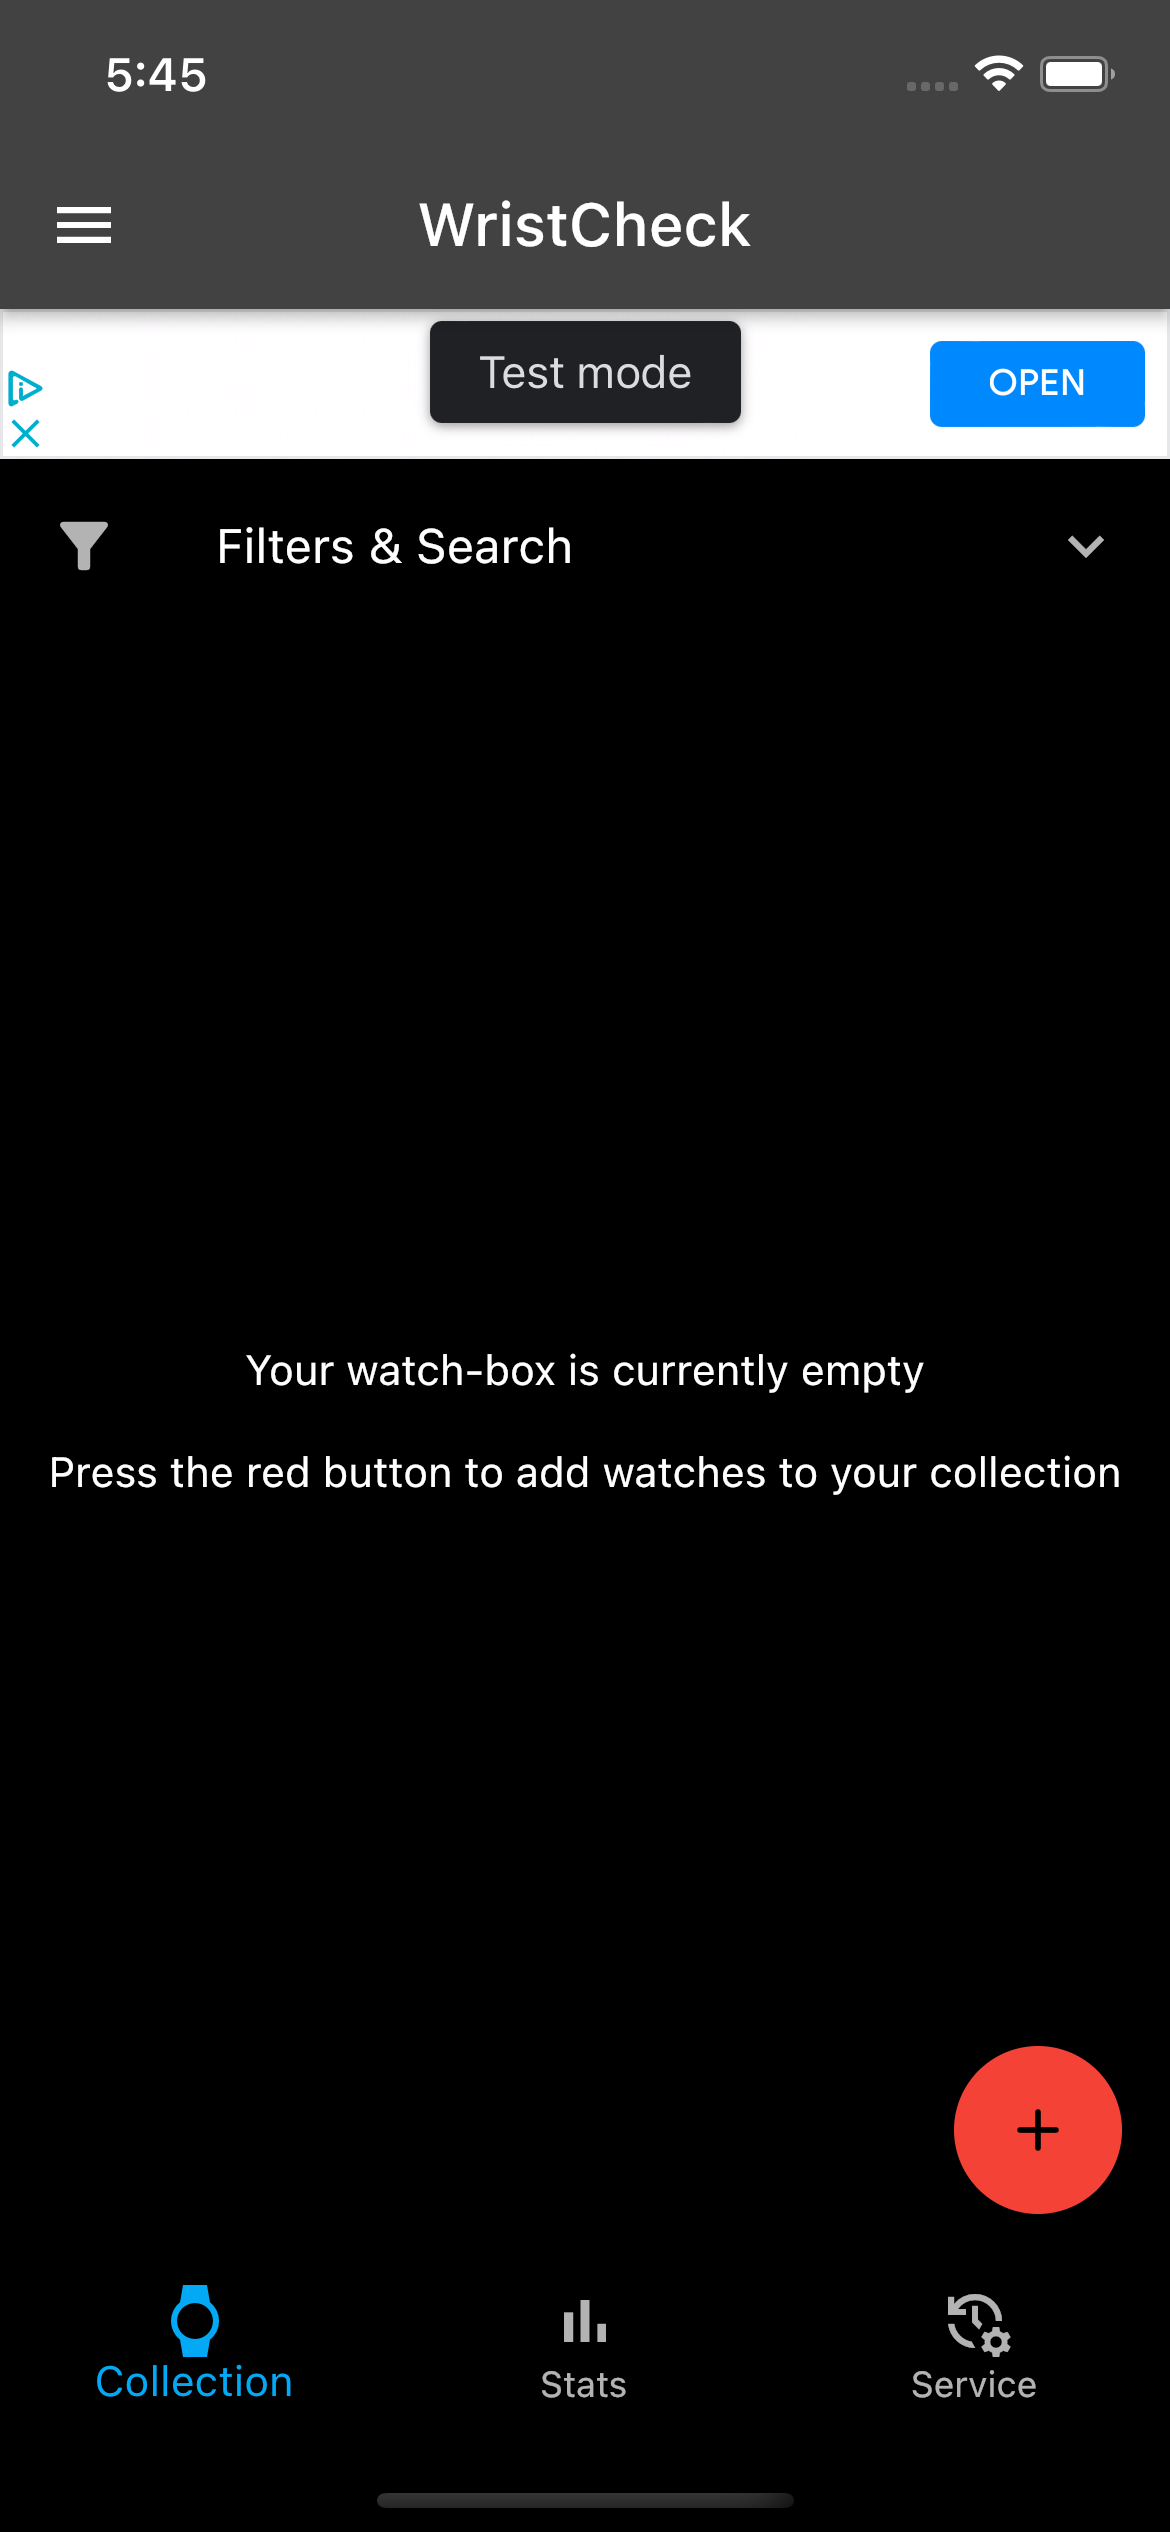 DO push this button!
To get started, the only mandatory fields are the Manufacturer and Model, all other fields are optional and can be edited later. Once these are entered, you can press the ‘add watch’ button to enter the watch in your collection.
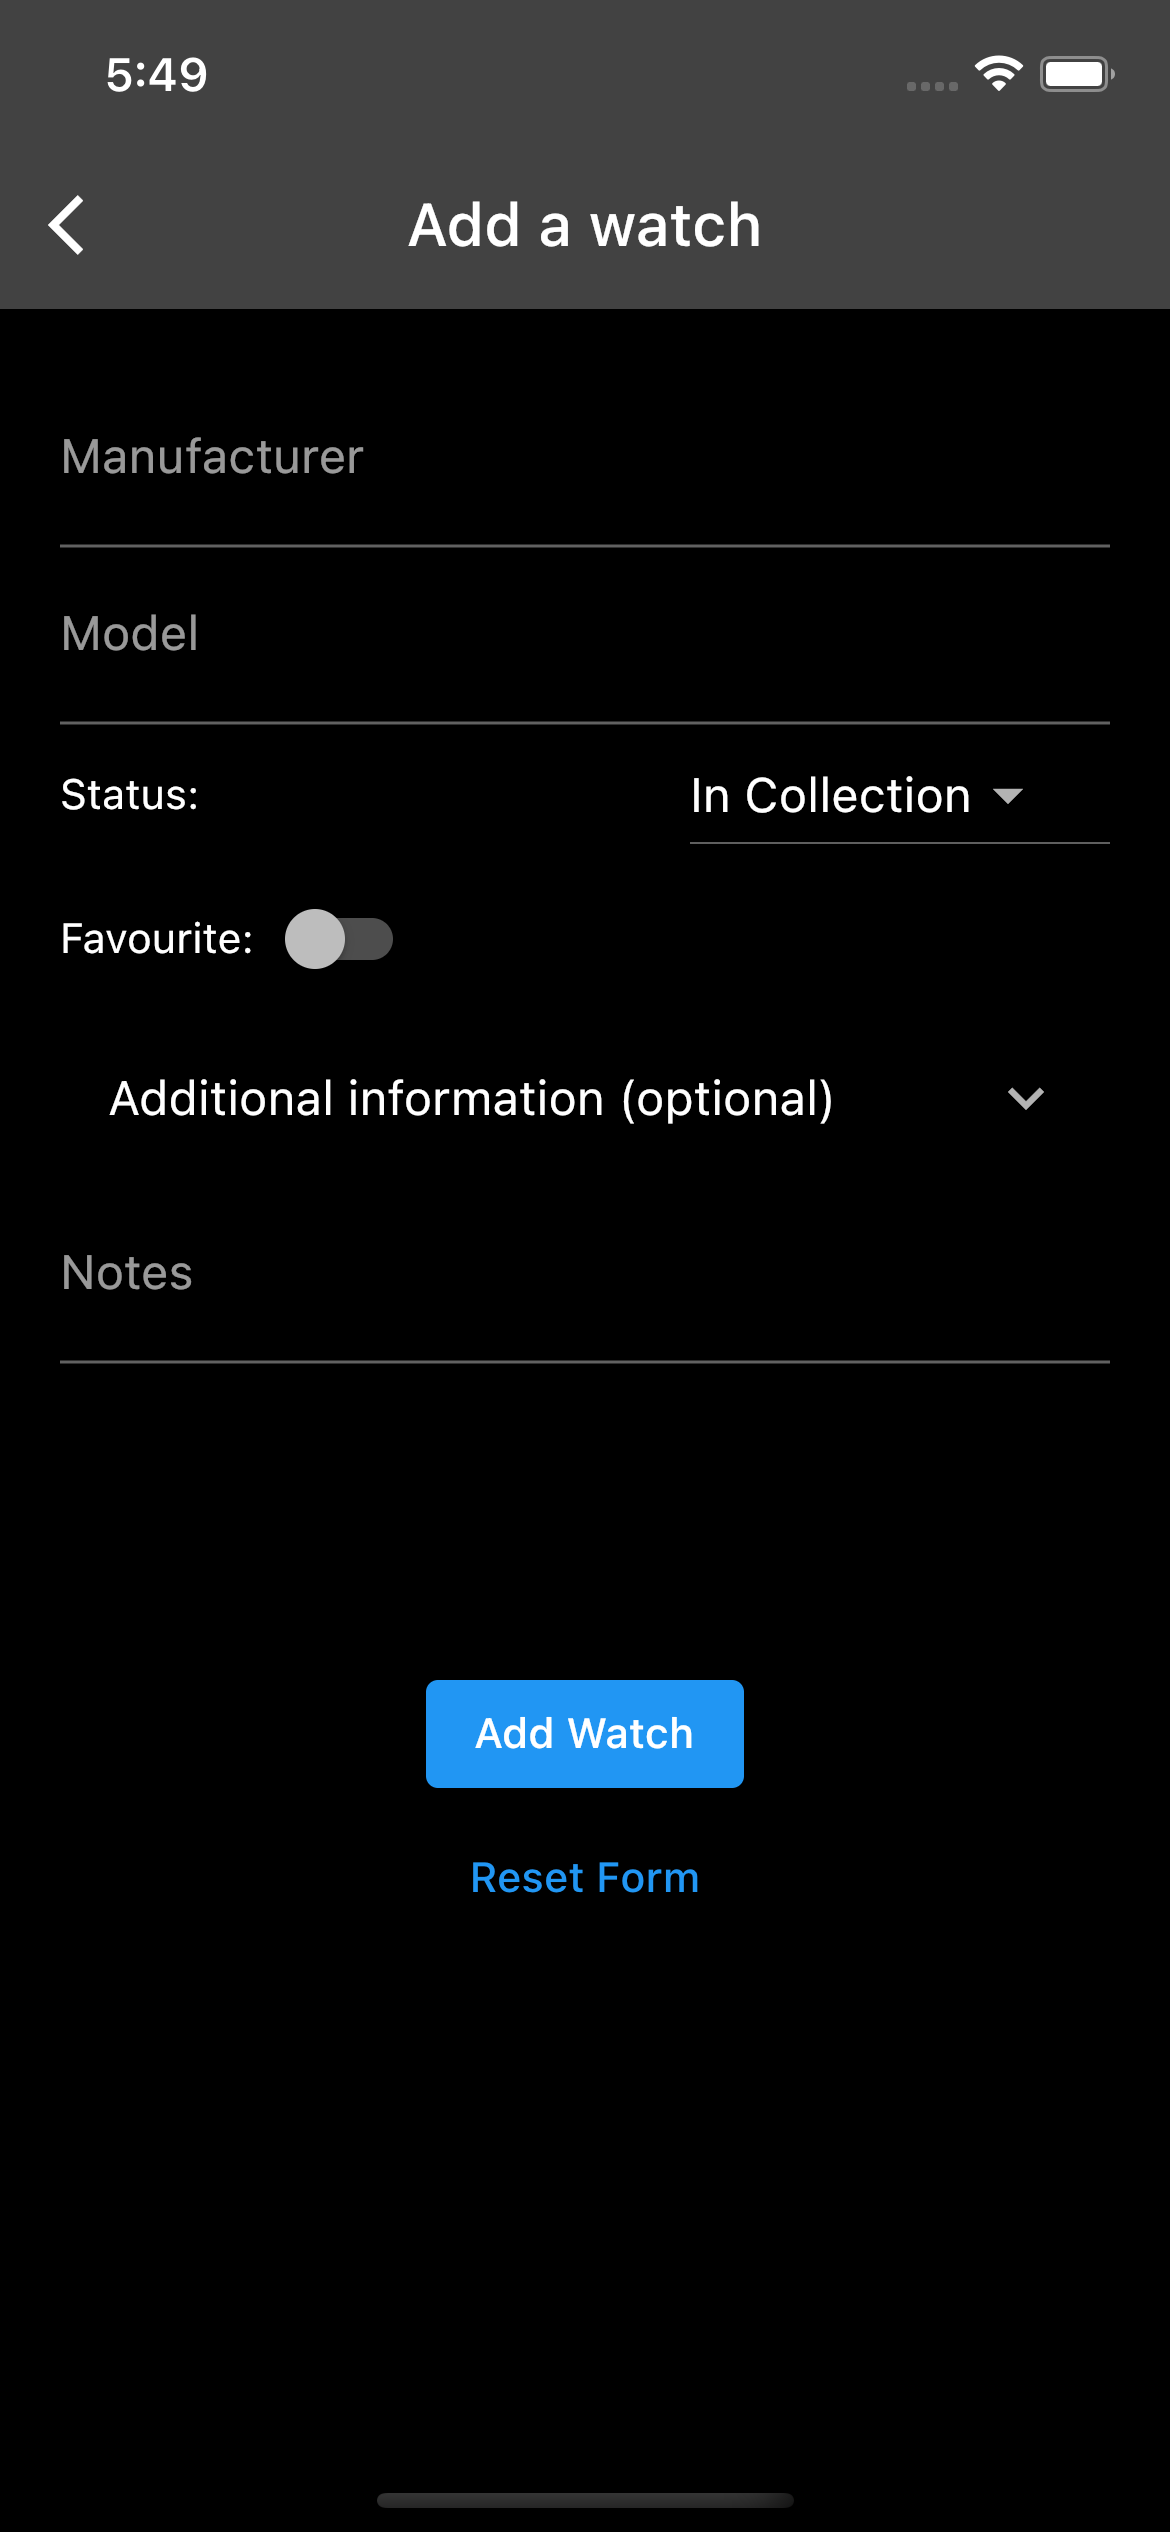
This process can then be repeated to add more watches to your collection.
A note on watch status Link to heading
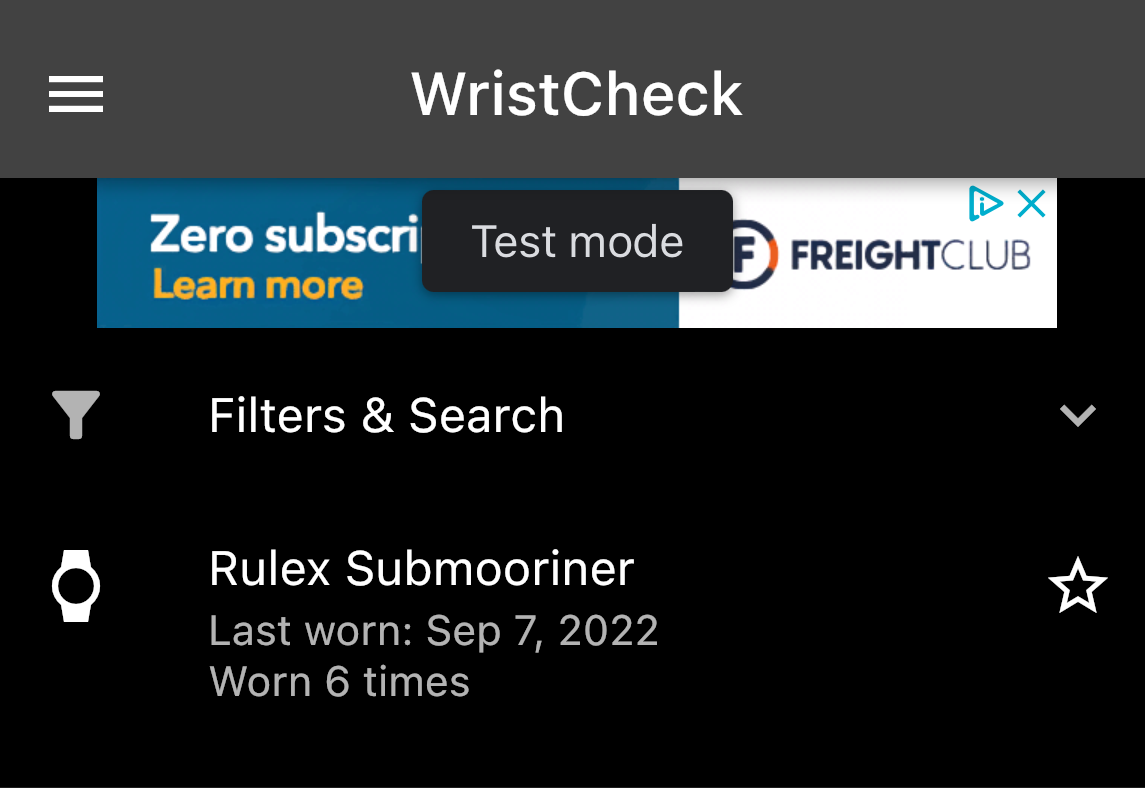
The Status field determines which list the watch appears in. By default this is ‘In Collection’, and any watches with this status are shown in the main watch-box view (the app home screen).
Watches need to have a status of ‘In Collection’ to be able to track wearing them.
In addition, there are currently three other statuses:
- WishList
- Sold
- Archived
When added to the WishList the watches appear in the ‘WishList’ view - this can be used to track a list of watches you are considering purchasing in the future.
Watches can be added to the ‘Sold’ list to remove them from the main collection and add them to the ‘Sold watches’ filter (in the future I’ll add some calculations based on prices too).
Finally, if you just want to delete a watch, it can be added to the ‘Archive’ - these watches are hidden, although can be accessed via the Settings menu. From there a watch can be restored to a different status, or permanently deleted by swiping it left.
Tracking the watches you wearing Link to heading
Now that we have some watches in our collection, let’s wear them!
From the main view you can click any watch to enter the View Watch screen - and from here, you can wear a watch by clicking the big ‘Wear this watch today’ button. This adds a date record to the watches calendar.

…and that’s all you need to do to start generating graphs!
Remembering to track what you wear: Setting up reminders Link to heading
The charts the app generates are only as good as the data that’s been added, so how do you make sure the data is kept up to date?
The easiest way is to set up a daily reminder, which the app handily provides!
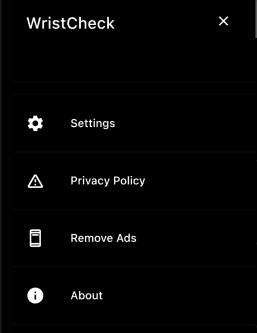
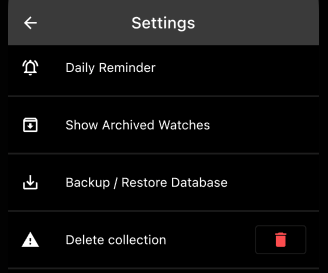
This can be found by navigating to the Settings page, which is found in the ‘burger menu’ from the app homepage:
This opens the app drawer, where you can select Settings:
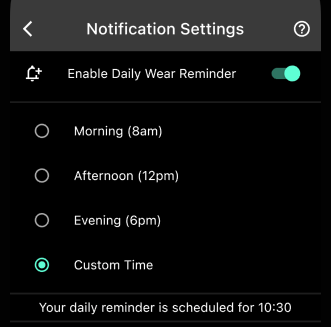
Finally, in the settings menu select ‘Daily Reminder’:
When a daily reminder is set it will firstly ask for permission to send notifications - without these platform level permissions any time set will be blocked!
The daily reminder defaults to 8am every day, however this can be changed to 12pm, 6pm or a custom time can be selected via a time picker - once set the reminder will generate at the same time every day - the time selected can be checked or amended at any time by navigating back to this page.
Want to read more? Link to heading
I’ll end this here, this should give enough of a kick-start to get watches into the app and start recording data daily.
I’ll follow up with some further posts about how to add historic data, setup service schedules and how to backup and restore the watch database.
If you’d like to read more posts about the WristCheck App, you can see all posts under that category on this site by clicking here
Cover image credit: Image by cookie_studio on Freepik